
Here are some simple, general steps on how to make your very own clear acrylic box at home.
First you need to find a place that sells acrylic sheets. Stores such as home depot currently keep a good stock of acrylic sheets. However, fair warning, it can be a bit pricey. At the same time and possibly the same place, you'd need to purchase acrylic glue.
Next, you need to cut down to the sheets to the exact measurement you need for each side of the box including the base. We cut down our sheets with a tabel power saw for a smooth cut with no jagged edges. You need to be very careful! Make sure your measurements are correct if not your box will come out a bit wonky.
The following step is to then glue all your sides together. We recommend glueing all the sides first and then gluing the base. You may need something to keep the sides propped as you glue them. Acrylic glue dries very quickly, but still allow it time to dry. If not, the side may fall over, which could permanently stain other areas of the sheet with glue. Also keep careful attention to evening out one side. The side will all the even ends will be the side that your glue the base to. If not, the ends will not be able to connect to the surface of the base.
This next step is optional. You can flame polish the edges of your box if your have a fine flame torch. Be very careful not to actually burn your acrylic box, you must work quickly! Flame polishing the edges softens them up so you don't accidentally cut yourself. Also, it makes it very shiney and pretty.
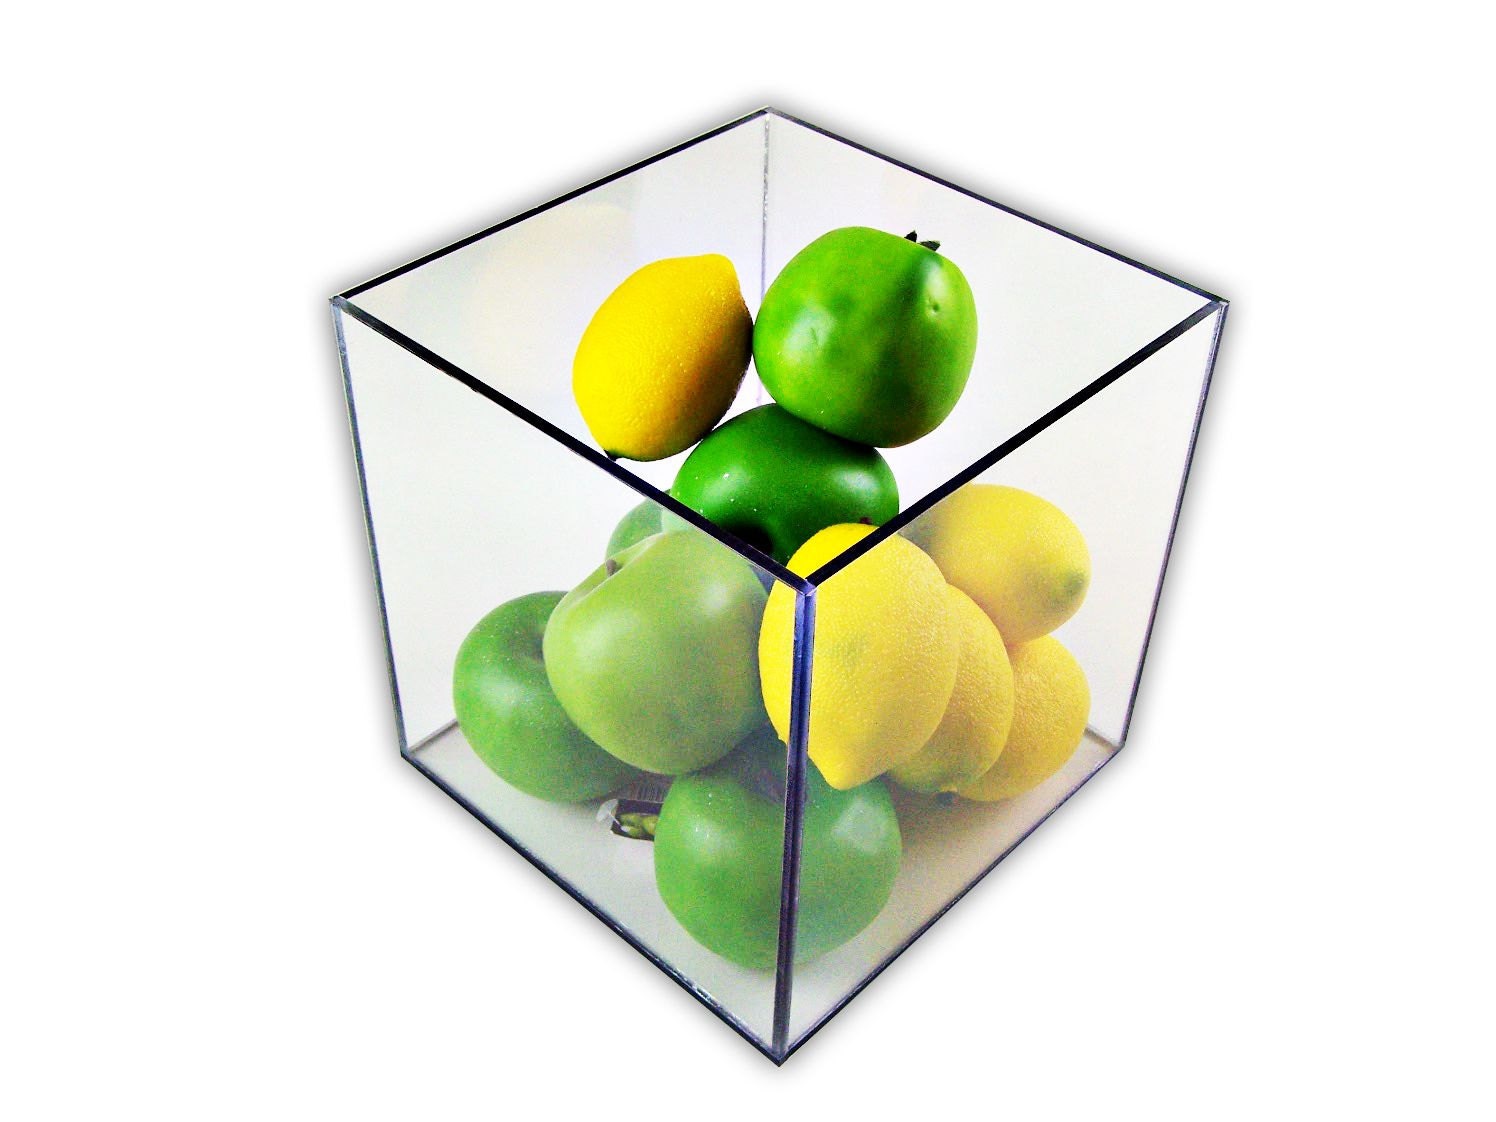
And now you're done! Finally! All that hard work, time, and financing for one, pretty little acrylic box!
Or to save you time and money, we can do all those steps previously mentioned for you. Just make an order and we will deliver a stunning acrylic box with shiney polished edges!